Pyramid Pose
Pyramid Pose gives an intense hamstring stretch with a stable stance. Blocks bring the floor closer.
- Level
- Beginner
- Hold
- 5–8 breaths per side
- Focus
- Hamstring stretch
- Steps
- 6 cues · ~1 min

- Hips back, chest forward
- Long spine
Step by step
How to do Pyramid Pose
StartStand with the right foot forward and left foot back about a metre.
- 1
Step the left foot back, turning it in about 45°, feet hip-width.
- 2
Square the hips toward the front.
- 3
Inhale and lengthen the spine, hands on hips.
- 4
Exhale and fold over the front leg with a long back.
- 5
Place hands on blocks either side of the front foot.
- 6
Micro-bend the front knee if needed.
- ↩
Coming out. Hands to hips, inhale and rise; switch sides.
Breath
Exhale to fold deeper.
Focus
Hamstring stretch
Why practise it
Stretches hamstrings, hips and spine; improves balance.
Alignment
Cues & common mistakes
Aim for Hips level; front kneecap lifted, not locked.
Teacher’s cues
- “Hips back, chest forward”
- “Long spine”
Watch out for
Narrow stance and rounding the spine.
Make it yours
Easier, harder, supported
Hands on blocks; bend the front knee.
- Reverse prayer hands behind back
- Two blocks
In a sequence
Where it fits in a flow
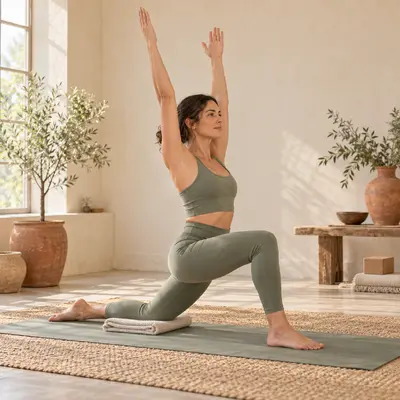 BeforeLow Lunge
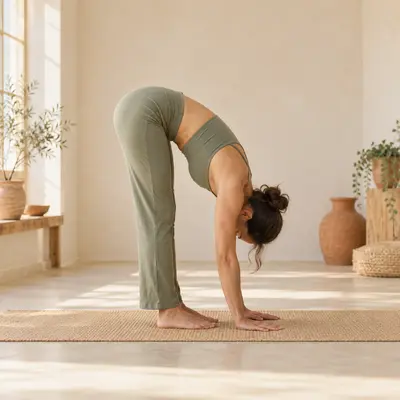 BeforeStanding Forward Fold
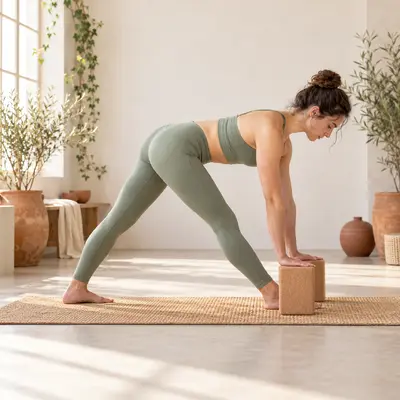 This posePyramid Pose
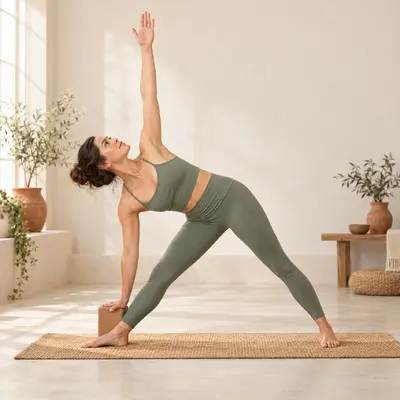 AfterRevolved Triangle
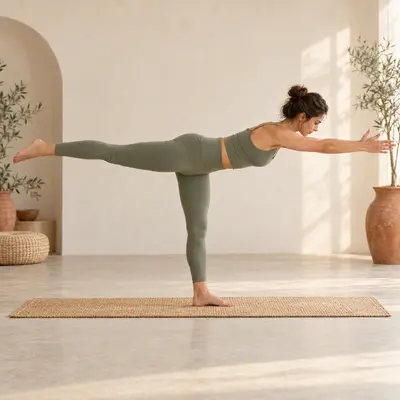 AfterWarrior III
Good to know
Questions
How wide should my feet be?
Hip-width side to side helps balance and keeps the hips level.
Parsva means side; ut intense; tan stretch.
What helps
Props that make this easier
- Non-slip yoga mat A 4–6 mm mat with good grip makes standing poses steadier. View on Amazon
- Cork yoga block Brings the floor closer in forward folds and supported poses. View on Amazon
- Cotton yoga strap Extends your reach in hamstring and shoulder stretches. View on Amazon
As an Amazon Associate, YogiSoul earns from qualifying purchases. Links open Amazon in your country’s store.