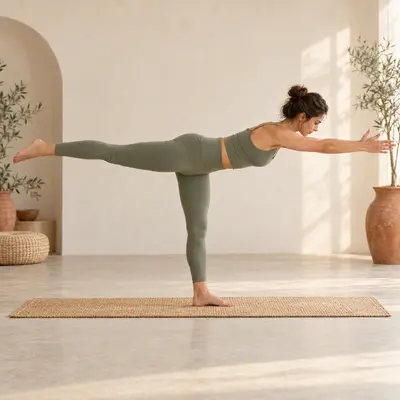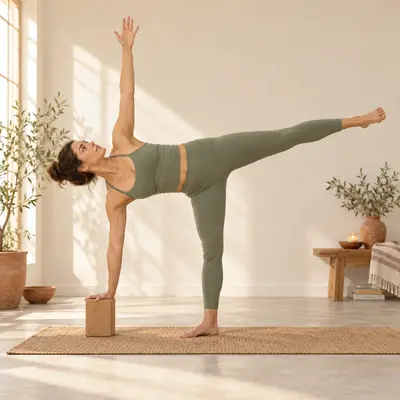
Standing Hand-to-Big-Toe
This pose demands hamstring length, hip strength and balance. Bent knees and a strap are smart starting points.
- Level
- Intermediate
- Hold
- 3–5 breaths per side
- Focus
- Balance and hamstring flexibility
- Steps
- 6 cues · ~1 min

- Stand tall first
- Hips level
Step by step
How to do Standing Hand-to-Big-Toe
StartStand in Mountain Pose.
- 1
Shift weight into the left foot.
- 2
Draw the right knee up and hold it or the big toe with the right hand (or loop a strap).
- 3
Place the left hand on the hip.
- 4
Extend the right leg forward as far as comfortable.
- 5
Stand tall, keeping both hips level.
- 6
Optionally open the leg out to the side.
- ↩
Coming out. Return the leg to centre, bend the knee and lower; switch sides.
Breath
Steady breathing.
Focus
Balance and hamstring flexibility
Why practise it
Improves balance; stretches hamstrings; strengthens standing leg.
Alignment
Cues & common mistakes
Aim for Standing leg strong; spine upright.
Teacher’s cues
- “Stand tall first”
- “Hips level”
Watch out for
Rounding the spine to reach the toe.
Make it yours
Easier, harder, supported
Keep knee bent; use a strap; stand near a wall.
- Side extension
- Strap
- Wall
In a sequence
Where it fits in a flow
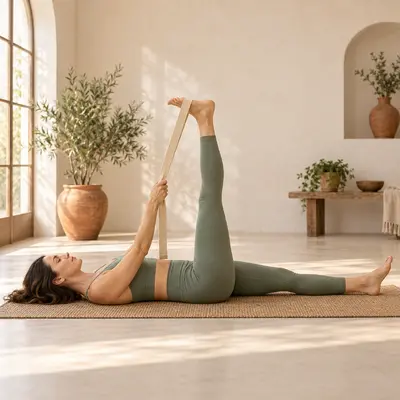 BeforeReclined Hand-to-Big-Toe
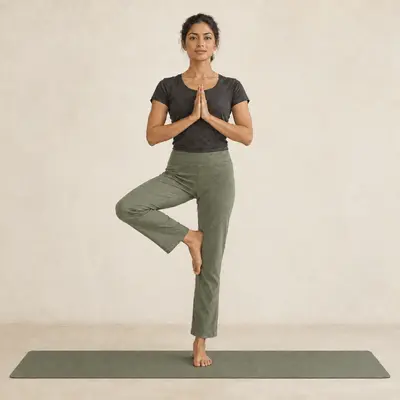 BeforeTree Pose
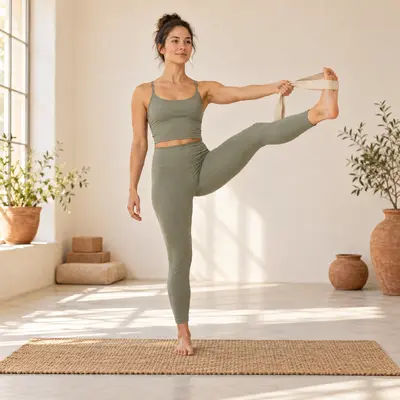 This poseStanding Hand-to-Big-Toe
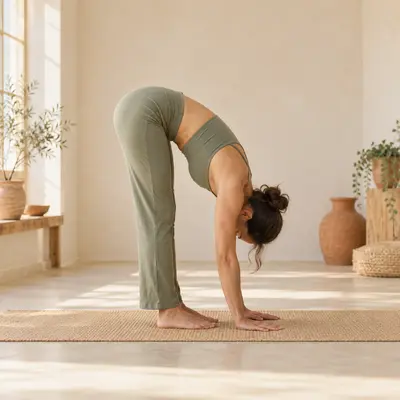 AfterStanding Forward Fold
Good to know
Questions
Can I keep my knee bent?
Yes — bent-knee holds are an excellent way to build the balance first.
Part of the Ashtanga primary series standing sequence.
What helps
Props that make this easier
- Non-slip yoga mat A 4–6 mm mat with good grip makes standing poses steadier. View on Amazon
- Cork yoga block Brings the floor closer in forward folds and supported poses. View on Amazon
- Cotton yoga strap Extends your reach in hamstring and shoulder stretches. View on Amazon
As an Amazon Associate, YogiSoul earns from qualifying purchases. Links open Amazon in your country’s store.